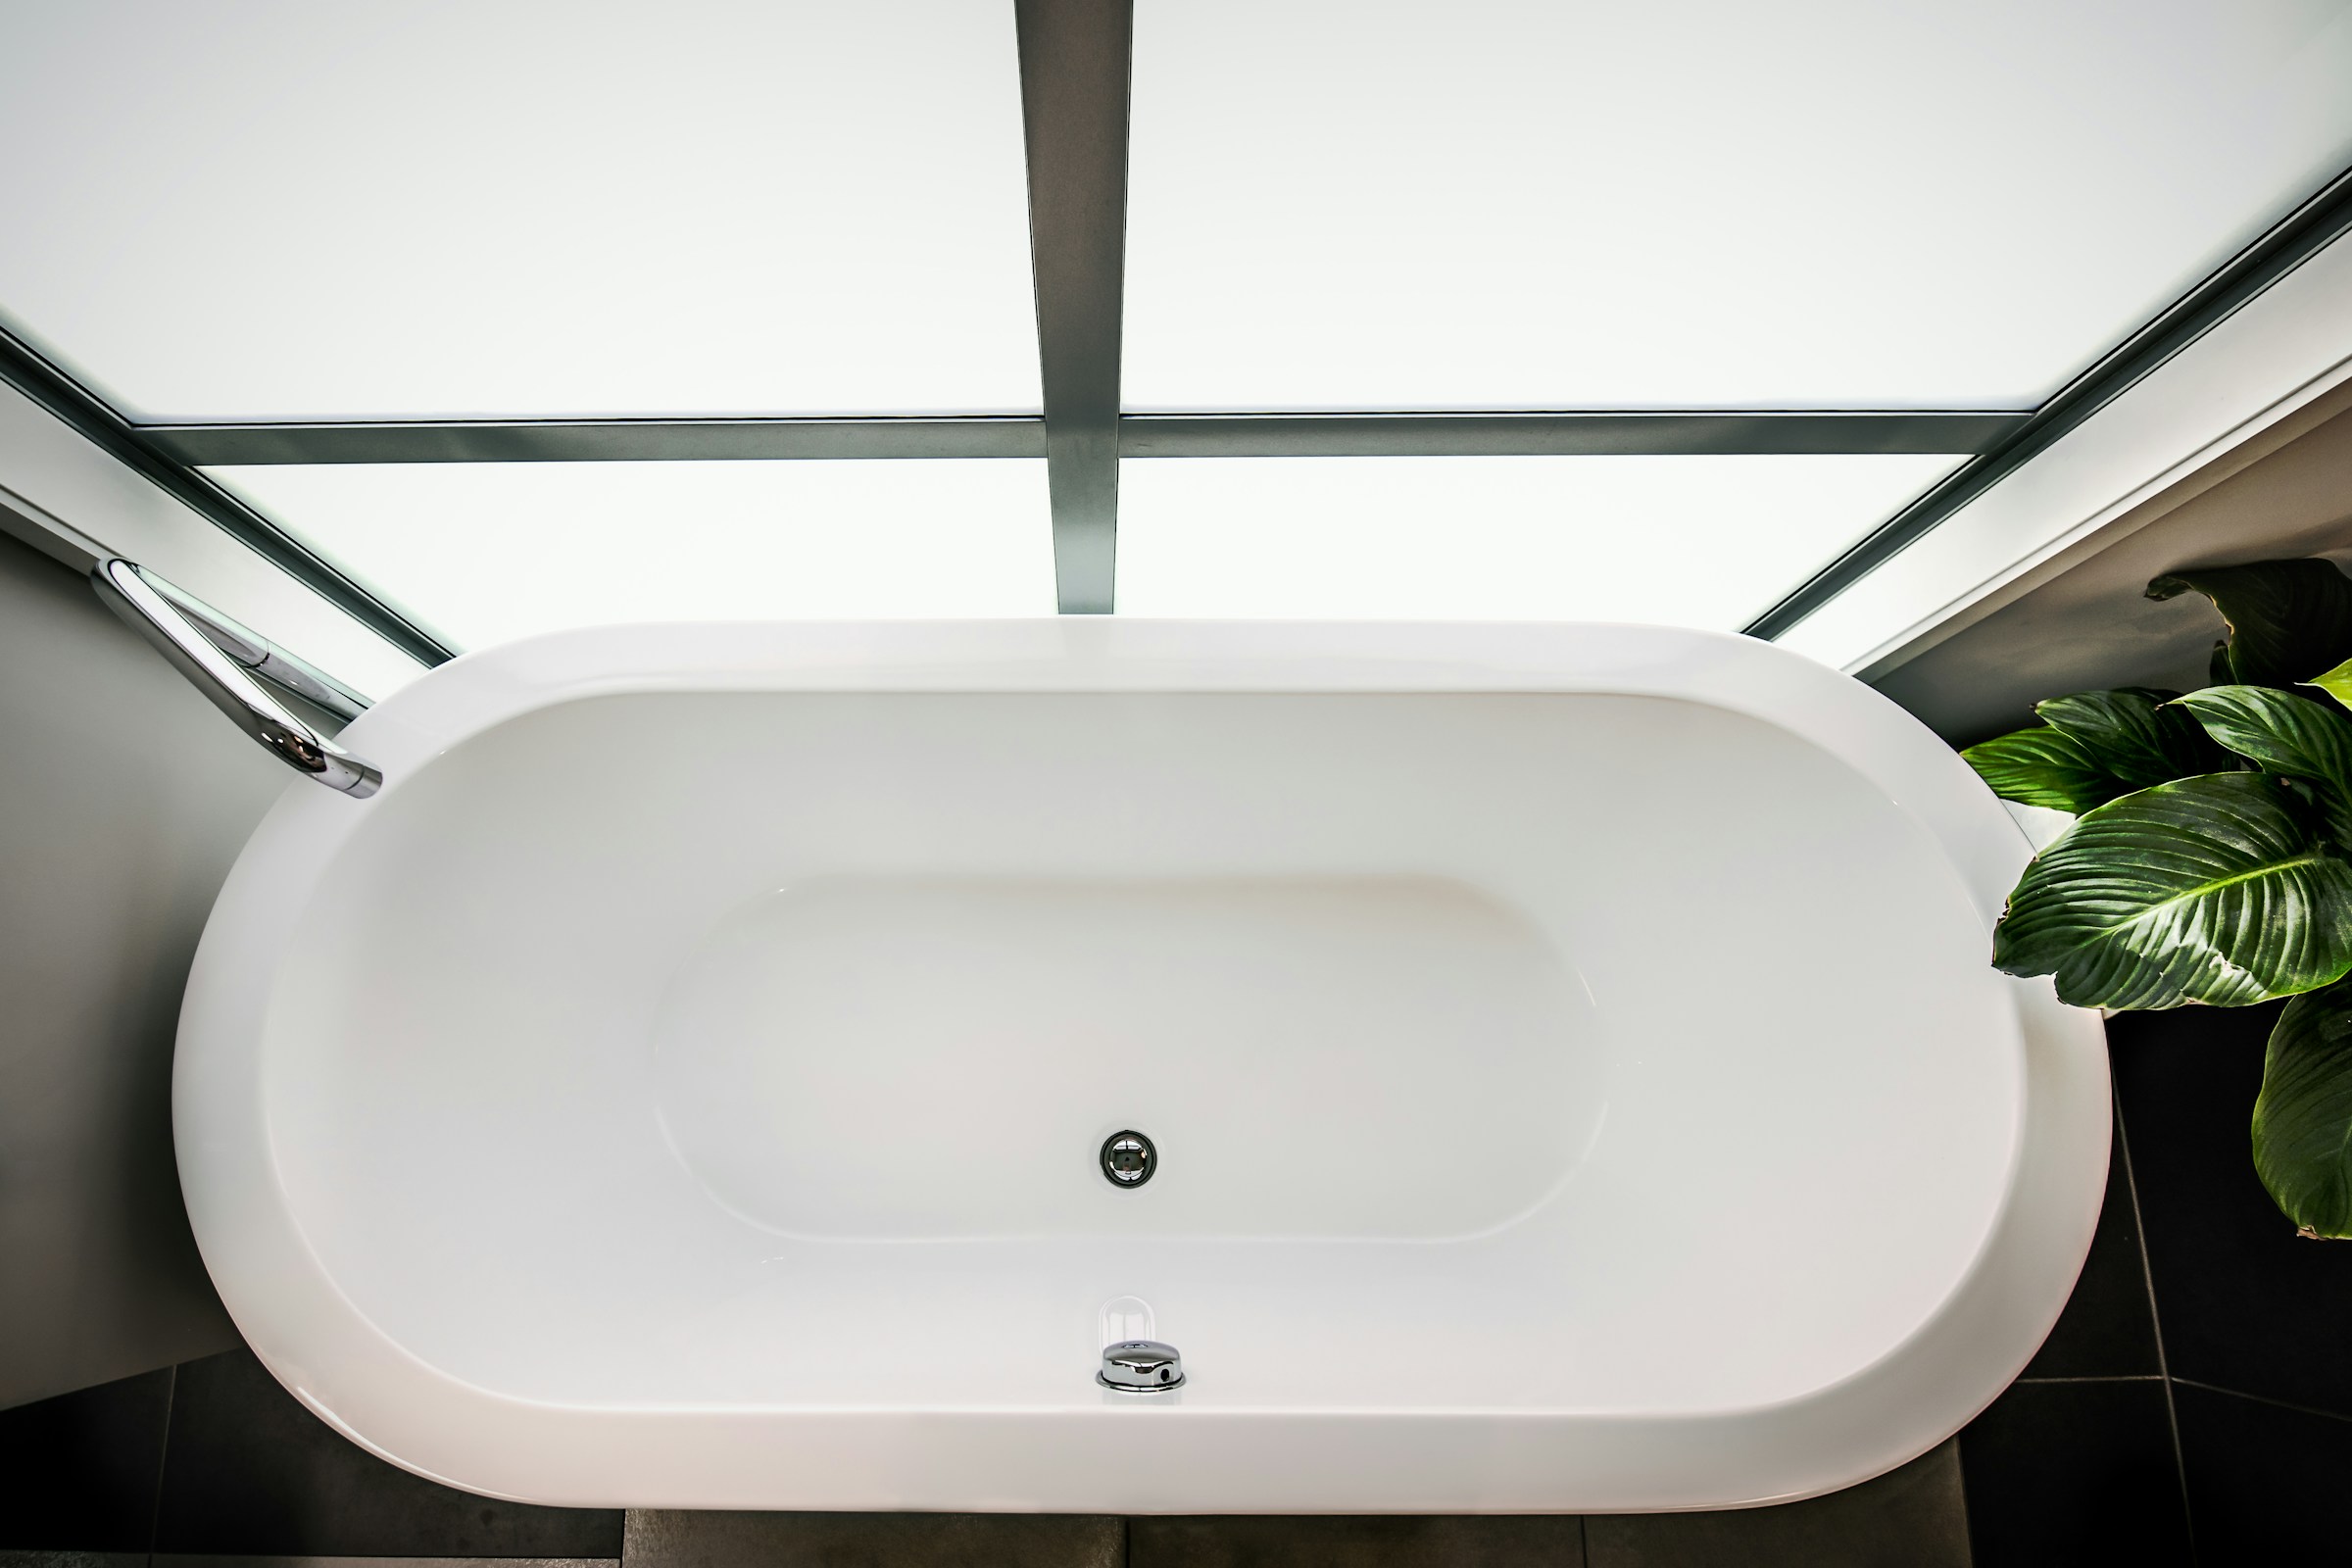
Thinking about upgrading your bathroom? If your tub is cracked, stained, hard to clean, or no longer suiting your needs, you may be wondering how to remove a bathtub on your own. While some homeowners take the DIY route, it’s important to understand the full scope of what’s involved before getting started.
This comprehensive guide explains how to remove a tub safely and efficiently, what tools you’ll need, how to navigate plumbing and structural challenges, and when it might be time to call in the professionals. If you’re unsure whether it’s time to move on from your current tub, take a look at these 3 indicators it’s time to upgrade your shower or bath.
Signs It Might Be Time to Remove Your Tub
Before learning how to remove a bathtub, it’s helpful to assess whether it’s the right time to replace it. Here are a few common reasons:
- Cracks or chips that affect the tub’s surface and safety
- Stubborn stains or mold growth that can’t be cleaned
- Outdated design that clashes with a renovated space
- Accessibility challenges that require a safer, more user-friendly alternative
- General wear and tear after years of use
If your bathroom is showing signs of age or no longer meets your needs, replacing your tub can dramatically improve your space. In some cases, converting to a walk-in bath or modern shower may be the better long-term solution.
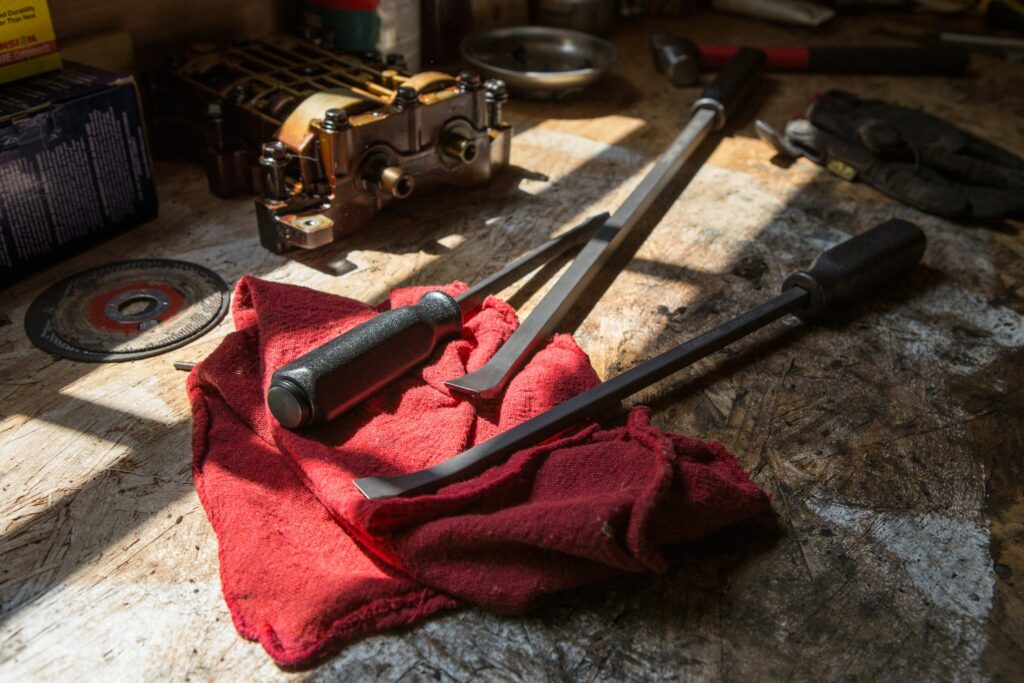
Tools & Materials You May Need
Before taking out a tub, gather these essential tools and materials:
- Utility knife
- Pry bar
- Adjustable wrench or basin wrench
- Screwdriver (Phillips and flat-head)
- Reciprocating saw with demolition blade (for cast iron or acrylic tubs)
- Hammer and chisel (for tile or adhesive)
- Drop cloths or old towels
- Buckets and sponges
- Protective gear (gloves, goggles, dust mask)
- Plastic sheeting or painter’s tape to cover fixtures or floors
Step 1: Shut Off the Water
Before any removal begins, locate the water shut-off valves for your bathroom or entire home. Turn off the water supply, and open the tub faucet to drain any remaining water and release pressure in the pipes.
If you can’t locate the shut-off valve or it doesn’t function properly, it may be time to consult a plumber before continuing.
Step 2: Remove Plumbing Fixtures
Carefully remove the tub spout, faucet handles, showerhead, and drain cover. Use a wrench to loosen the drain flange and overflow assembly. Older fixtures may be corroded or sealed with old plumber’s putty, so take your time and apply gentle pressure to avoid damaging surrounding areas.
If your tub has a tile surround, you may need to remove fixtures before removing the tile itself.
Step 3: Cut Through Caulk and Remove Surrounding Materials
Use a utility knife to score the caulk around the tub’s edges where it meets the wall or flooring. Remove tile, wall panels, or drywall that borders the tub. Be cautious not to cut too deeply and damage the studs or plumbing lines hidden behind the wall.
For tiled walls, a hammer and chisel may be required to carefully chip away the tile. Always wear safety goggles and a mask to protect yourself from dust and sharp fragments.
Step 4: Disconnect the Drain and Overflow
Under the tub, access the drain plumbing. You may need to remove an access panel or cut away part of the wall behind the tub. Use a basin wrench to disconnect the drain and overflow lines. Have a bucket nearby to catch any residual water.
Take photos of the setup beforehand to help you or your contractor reconnect everything later if needed.
Step 5: Remove Screws or Nails Securing the Tub
Bathtubs are often secured to wall studs using screws, nails, or brackets. Check along the flange (the edge of the tub that sits against the wall) for fasteners. Use a screwdriver or pry bar to remove them. You may need to lift the tub slightly to access screws at floor level.
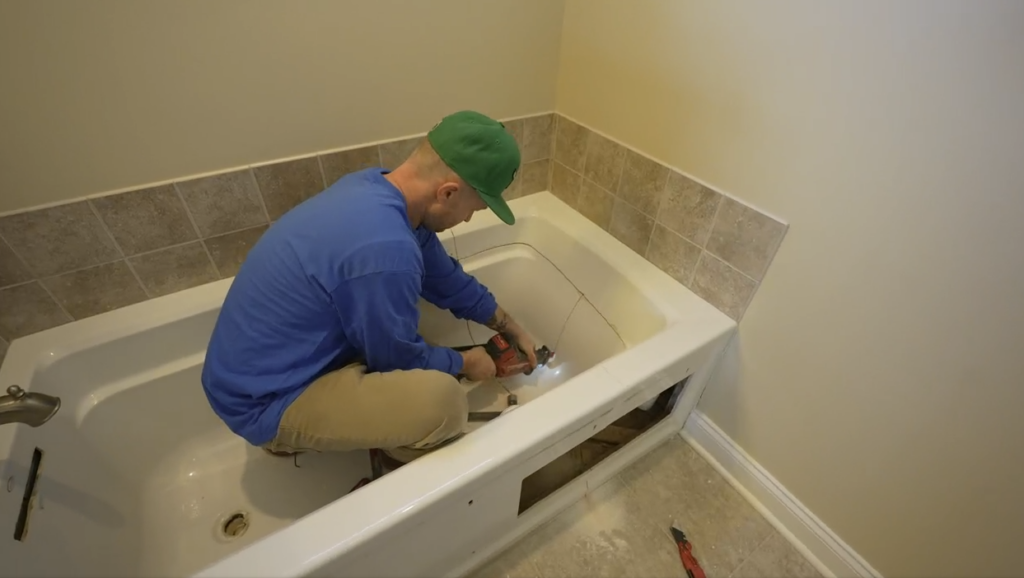
Step 6: Break the Tub Into Manageable Sections (if needed)
If the tub is cast iron, acrylic, or too large to fit through the bathroom doorway, you may need to cut it into sections. Use a reciprocating saw with a demolition blade to slice through the tub safely.
Safety tip: Cast iron tubs can be shattered with a sledgehammer, but this method is extremely loud and risky without proper experience and safety equipment.
Step 7: Remove the Tub From the Bathroom
With the fasteners removed and the tub detached, carefully lift and carry it out of the bathroom. Most tubs require at least two people to remove due to their weight and size. Protect your floors with drop cloths and move slowly to avoid damaging walls, doors, or trim.
Step 8: Dispose of the Old Tub
Disposal requirements vary by location. Some municipalities allow bulk pickup on designated days, while others require a trip to a landfill or recycling facility. Check with your local waste management provider for guidelines.
If you’re replacing your tub with a new one through a remodeling company, ask if they offer haul-away services.
When to Call a Professional for Help
While understanding how to remove an old tub can be empowering, the job is more complex than it may seem. Plumbing disconnection, structural repairs, and proper disposal all require attention to detail.
If your renovation involves upgrading to a new feature like a walk-in bath, a modern soaking tub, or a walk-in shower, the installation can be just as technical as the removal.
- Browse our bathtub replacement services
- Explore walk-in bath options for comfort and accessibility
- Learn about our bath installation solutions
- See how a tub-to-shower conversion can open up your space
Not sure if you’re choosing the right option? Read our advice on store-bought walk-in tubs and what to avoid.
Final Thoughts
Learning how to remove a bathtub is a major step in any home renovation. While taking out a tub yourself can save money upfront, it also introduces the risk of damaging plumbing, walls, or flooring if not done properly. If you’re wondering how to remove a tub efficiently and safely, this guide provides the foundation.
However, when it comes time to upgrade your bath, a professional installer can help you achieve better results in less time with fewer complications. Whether you’re considering replacing a standard tub, transitioning to a walk-in model, or creating a modern shower system, the team at Rite Window is here to help every step of the way.
Contact us today to discuss your project and discover the best way to remove and replace your bathtub with a stylish, long-lasting solution.